
A Quick Guide to Making a Gravel Pathway
May 4, 2015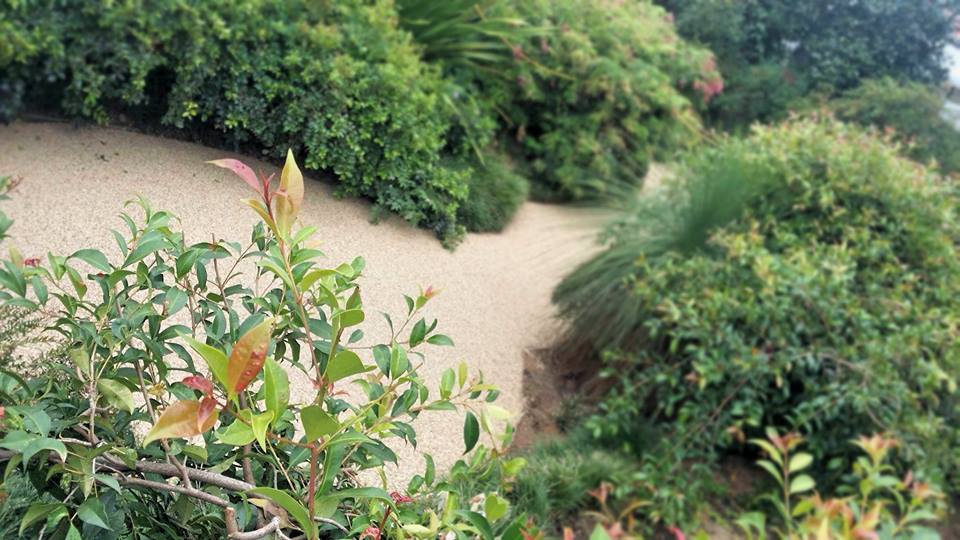
A gravel pathway can be a beautiful addition to a home. It can become a stunning entrance to your house or a path leading to your lovely garden. With self-binding gravel, you can even avoid the pitfalls that come with a loose gravel pathway.
If you’re one of the many who want to install one in your home, follow this quick guide. Take note of these steps and you’ll soon have a beautiful gravel pathway for your home.
1. Lay out the path
Determine the path you want to follow for either your front or backyard. You can mark this with a garden hose, rope or spray paint. Using this as a guide, dig soil out until the path is up to 100 mm deep. Make a trench on both sides of the path and ensure you keep them straight and at the exact height by regularly taking measurements as you go. Dump the soil onto a tarp for easy cleaning up.
When the entire path has been excavated, smoothen it out. Then place about 60 mm of crushed stone which you should also smoothen out. This will ensure that your base is compact.
2. Set up the border
There are different materials that you can use for the border. You can choose from aluminium, steel, timber, block or paver edging. Steel is a popular choice as it can easily be curved to fit the shape of your path and it also offers a clean look. Whichever material you choose though, make a template bar or spreader bar that you’ll use to hold the parallel materials at an even distance all throughout the entire path. Once the correct spacing is established, set the border by hammering it in place using a wooden hammer or a rubber mallet.
3. Fill it up with gravel
Fill the path with your gravel then rake it out to ensure that it is even all throughout the entire path. Ensure that you follow the correct depth depending on the size of your stone. Take note of these measurements:
- 6mm single sized stone – 30mm depth
- 10mm single sized stone – 40mm depth
- 20mm single sized stone – 60mm depth
Allow for the gravel to settle before proceeding to step 4.
4. Pour on
To stabilise your loose gravel you will need to bind them together. The best solution for this is Pour On. You can easily install this on your gravel pathway by pouring the resin over the path. You can read the installation guide here for detailed instructions on how to use the product. Getting your gravel pathway resin-bound will ensure that you don’t occasionally have a few stones go over the pathway and into your garden, or worse get stuck in your shoes and into your house. This also means not having to regularly fill your pathway with gravel.
A gravel pathway may be just a simple addition to your home, but it makes a huge difference to how your home looks. Just follow the four steps above to get that beautiful pathway that’s missing in your property.
To know more about Pour On gravel binder, you can call us on 1300 392 155 or email us at mail@stoneset.com.au. Contact us for any queries you may have about our product and our services. We also offer solutions for outdoor paving as well as large scale commercial projects.