Around The Home
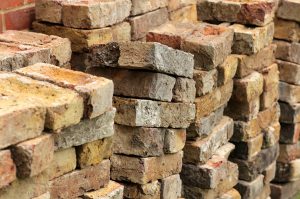
Sandstone was once called 'free stone' due to its abundance and significantly low cost. This blog article explains why its so often been used as step stone paving in gardens.
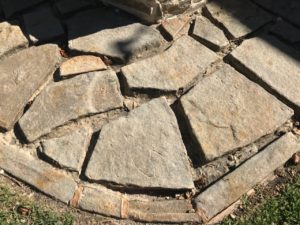
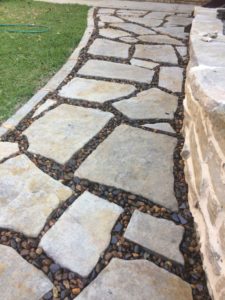
Its limitation of course, is the infill between sandstone blocks on pathways. Soil so often becomes compacted and grows weeds. This is eventually replaced with loose gravel, but this of and in itself has different frustrations and limitations.
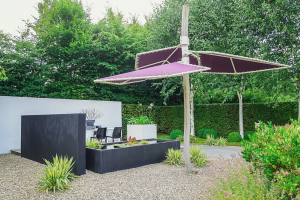
Trish, a new mother in Sydney wanted to add a pathway to her front door.
She had the following requirements, the pathway had to be.
- in keeping with the federation style of the home
- look natural and incorporate sandstone colours
- be low maintenance and not easily picked up or kicked around by her children
- Also be something she could do herself
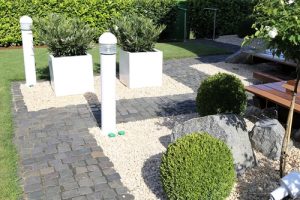
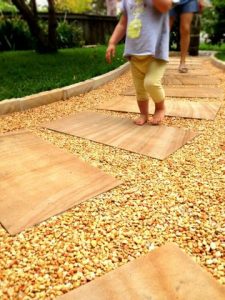
Trish really like the look of sandstone, however the cost was a little over budget. She decided to combine the sandstone blocks she had, with the 'loose look' of gravel she also liked, with by placing the pavers as stepping stones. Similarly using a simple angle grinder, she fashioned a border from the more narrow parts of sandstone, creating a rustic border this reduced the amount of infill required, bringing the cost back within budget.

The pathway preparation began with excavation of the grass to a 200mm depth. Beautiful sand stone edges framed the pathway and the base was prepared with a 150mm of road-base supplied in a bulk bag delivered by Bunnings for around $100. Trish had a landscaper manage the excavation and compaction of the road base (had to be compacted in two layers) to ensure a stable surface ready to position the pavers and loose gravel.
For the keen DIY'er Bunnings offers small vibratory compactors for hire and for lower foot traffic pathways, a manual tamper can also be used.
The sand stone pavers were secured in position with a layer of course sand and the 10mm Cowra gold was laid around them at a 50mm depth. This stone is typically available in any landscaping yard in 20kg bag for around $10 per bag!
To get the very best hold, the stones must be rinsed free of dust. Once the loose pebble was swept into position - a shower head hose nozzle was used to do a couple of passess over the stones to rinse down the dust. This was done 1 week before, allowing the stones a good 2-3 days of dry - as the stones must be completely dry before pour on is applied.
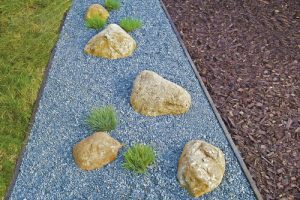
The final stage - the Pour On! Firstly the sandstone pavers and path edges were masked off - protected from and stray drips of the Pour On using masking tape and news paper. Then Trish used a small coke bottle with holes drilled in to ensure a even light coverage of the Pour On over the pebbles, as she applied the binder she took care to then smooth the pebbles down with a hand trowel to ensure a smooth close knit finish.
The first Pour needed only 1kg of binder for each m2 of pebbles. Once complete and smoothed off, the bound stone is left to cure for 24 hours. By leaving the surface 24hours between pours you can easily identify any dry areas making the second coat more thorough. After the second Pour has been applied the job is complete.
Trish has completes the installation of a beautiful, low maintenance pathway which is child and dog friendly!
How can you get busy around your place using Pour On, a few bags of decorative stone and old paving materials around the home??